Tuesday, December 30, 2008

Long n short handles - Quest #3

I never thought I would try a project from a Martha Stewart show. I had heard of Martha Stewart and once tried to watch an episode of her show on TV. It was painful listening to her drone on and on about pastry and other exciting desserts. Being a fan of TV police shows, I kept waiting for a pay-off. Nothing exciting happens on Martha Stewart.

So during my current quest for long and short handles, I was quite um, embarrassed to use her TV tutorial for my next bag. There is a clip of Martha and her guest actually sewing the bag. But it being TV, everything was pre-sewn and the guest glossed over the difficult part of the bag - the handles. Grr! I used the cute template provided but I made the bag really small.

I think I managed to wing the handles pretty well and it's all machine sewn.


The clothes peg gives an idea of the size of the bag.


Friday, December 19, 2008

Long and short handles - Quest #2

I recently got this book bend-the-rules sewing by Amy Karol and one of the projects is surprise, surprise - a long and short handled tote.

One of the differences I noticed about Amy Karol's style is she left the opening for turning the bag right side out in the top of the bag. I've always done it the old-fashioned way through the lining.

She mentioned a website in the book and to my horror/shock/delight she is also Angry Chicken. I had seen stuff made by Angry Chicken before and for some queer reason I thought Angry Chicken was a very angry male farmer. I cannot understand my own thought process.

I made the longer handle really long as I thought it would look really nice.


I used different fabric for front and back.


A nice pink patch pocket for my coins.


Inside out.

Sunday, December 14, 2008

Long and short handles - Quest #1

I'm currently fascinated by bag handles - the ones where the length of both handles don't match.I imagine this is how it happened. One brilliant but forgetful bag maker sewed the wrong length of handles onto a bag. Instead of reaching for the seam ripper, she experimented and voila - a new bag is born.

What I love about long and short handles is that no closure is required. By inserting the longer handle through the shorter handle, a natural closure is born. So clever. I wish I had come up with it.


Say Hello to my rocking horse. (I have a rocking horse?!!)

Helen's site offers a Japanese Knot Bag pattern(I guess this is what Japanese calls it) which I shrank in size as I thought large would be cumbersome for such a design.


Okay, here's the part I didn't like. I had to sew the handles together by hand. So raw!


This is what I look like inside out.

Tuesday, December 9, 2008

Korean Souvenirs 4 - Doll


I bought this beautiful Korean doll on my last day in Korea. I had been searching for days for the perfect doll and was rather disapointed that the one which were better crafted cost a bomb. I finally settled for this cheaper version. This doll is a display doll and should have been left displayed in the plastic container it came in. Unfortunately I took it out to take pictures. That's when I discovered the doll's body and legs were made of styrofoam. Ugh!!!!!

Buying this doll has rekindled my interest in making clothes for dolls. When I was a kid, I only got to play with hand-me-down dolls from my mother's employer. They were usually broken and never came with clothes. I remembered enjoying dressing them up with rags. When my girl was old enough to play with dolls, I started sewing dolls clothing for her Barbie. I think I enjoyed dressing up her dolls more than she did. Frighteningly, my son also enjoyed dressing up the dolls. It turned out to be a passing phase.

Unfortunately I did not document any of the clothing I had made. This is why I created another blog Dressed Up Dolls just for dressing up my girl's dolls. Okay, our dolls.

Saturday, November 29, 2008

Korean Souvenirs 2 - Knots

Although I love Korean knots, I did not go crazy buying up every single knotted thing I came across when I was in Korea. My husband restrained me.


This charm was my first buy. I was jittery about not coming across another charm store that I bought it even though I was not in love. I was so wrong. They were everywhere that every charm started to look common.


Pretty charms all in a row
My girl bought these charms and she would have bought plenty more if her father had not restrained her.


I was really hoping to find less common charms like this one I had bought in Singapore during a Korean Fair. So classy.

I grew weary of commoner and commoner knotted charms that I almost gave up. Then I fell in love. I had been staring at two large gorgeous knotted tasselled things hung at the rear view mirror in my tour bus for days. I knew I wanted them. Of course they proved to be very hard to find.


One night I walked past a street vendor and my husband pointed out the gigantic drum knotted thing I wanted. I almost screamed but it was too cold. I did not even bargain and paid whatever the vendor wanted. The sweet woman actually gave me a discount!
You can't tell from the picture but it is huge!

My last item was a shoe knotted thing which proved to be rather elusive. I just couldn't find it anywhere. Once, I spotted it at a street vendor from the bus and when we stopped 5 minutes away, my husband braved the cold and walked back to find the vendor. My hero! Unfortunately it was too far away and way to cold to walk on the street.


On my last day in Korea, on a pit-stop before reaching the airport, I found my shoe knotted thing. I was so happy I wanted to cry but it was too cold.


This is a knotted charm I maade using just double connection knots and beads.

Saturday, November 15, 2008

Sexy Curved Top Zippered Pouch

I finally got my camera back from my mother-in-law and unknown to her, the camera died in S. Korea where she had gone for a holiday. My mother-in-law is one of those people who refuses to put on her reading glasses so she did not look at the review once and happily snapped away. I'm sorry to report that all the photos she took looked like she had pointed at the sun directly - one big splash of white light.

So my husband bought a new camera and these pictures are taken using the new camera. (it's a casio)

My current project is a curved top zippered pouch. I think curved top for a pouch is really sexy, I referred to this tutorial at Some Art Thought and surprisingly curved tops aren't that difficult. Initially I thought I would need to use a bias strip which would make it hard because of the stretch.

This pouch is interfaced for the outer fabric so that makes it a little stiff so sewing on the curves is a little hard. Next time it might be a good idea to use an outer fabric which is softer.

Here's a nice angle of the pouch. Sexy!


Up close and personal


My girl's Flintstone pen in the pouch

Monday, October 27, 2008

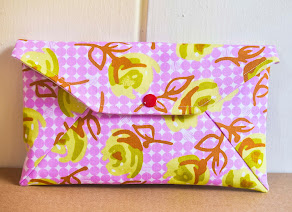
Envelope Bags

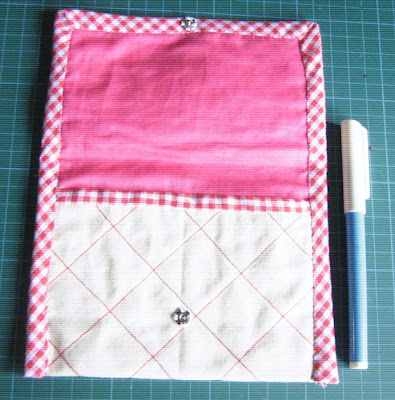
Envelope bags look like the easiest thing in the world to make except they're not. The difficulty lies in the bias binding. If you can't handle bias binding, you can't make envelope bags. Since I've some experience with bias binding, I think I'm ready to make me some envelope bags except this tutorial by ayumills calls it "camera case".

Of course I did not just make a simple envelope bag. I need to do it the hard way. Helen, my beloved Brother dealer had sold me a walking foot and I wanted to try it out. I did a simple straight line 45deg quilting lines and man! The noise the walking foot generates. It's almost as if a giant is stamping across my fabric. I have also recently become obsessed with paper cutting applique and had to have it in the bag. I used blanket stitch which came with my sewing machine using my new open toe foot. (That Helen sure is a good saleswoman) I'm finding blanket stitch a little challenging.

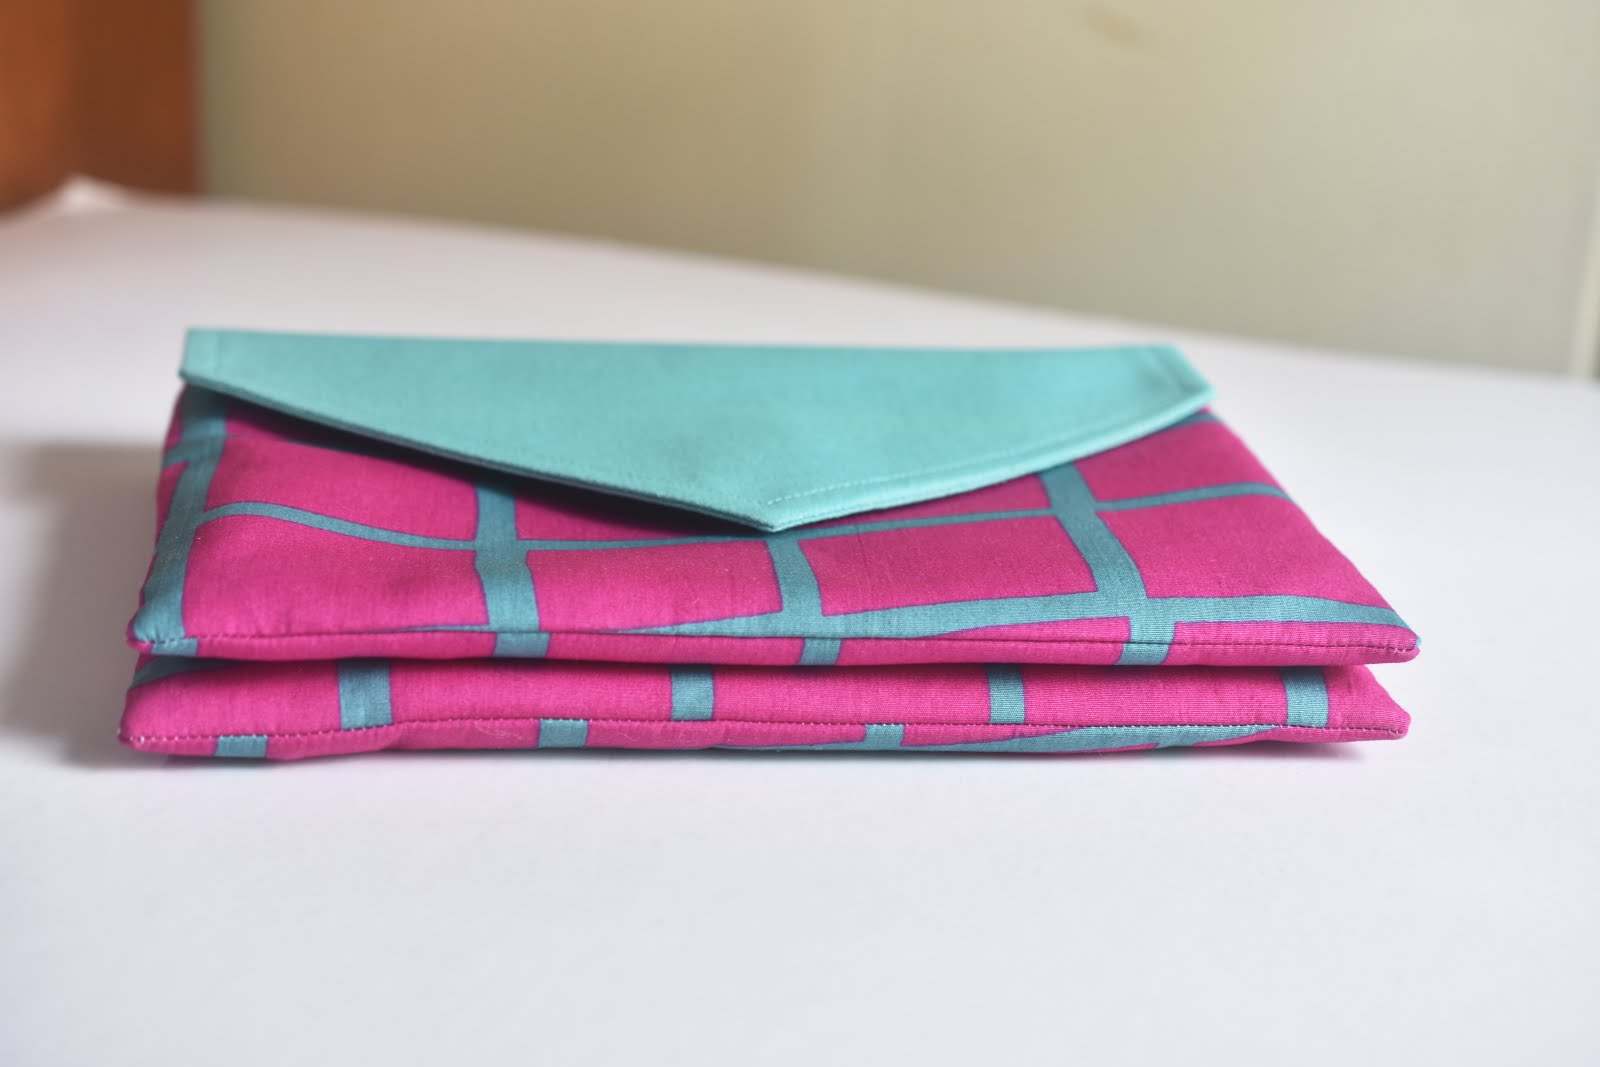
Front view


Inside view


I referred to ayumills tutorial but didn't fully follow the bias binding bit. For one thing, I wanted to see how the self-mitering of my bias binding would work out.

Here's is the self-mitering bit.


On the other side I had to whip stitch the mitering together.


Helen the saleswoman of the year had also sold me a quilting foot. For my next envelope bag, I wanted to try free-motion quilting. Free-motion anything is so complicated. You need to lower the feed dog (I keep calling it dog feed). On my machine, you just press a switch. Next, you need to move the fabric while stepping on the pedal. The first few times I tried my thread kept jamming up. I have since learnt not to pedal at break-neck speed and to move the fabric up/down left/right instead of in circles.

Front view. I added some cut-outs because I just can't stop myself. Also the flap is curved.


Inside view

Friday, October 24, 2008

The Old Bags - Part 2

I had been digging in my storeroom and found a few more of my "old bags" from the Sakura sewing machine era.

I was very into hand embroidery then and had to incorporate it into my bag, one way or another. This is the result. I still think the idea is good but the execution is not so great.


This was a handphone pouch I made for myself. I've used it countless times as can be seen from the worn out cross stitch. I learnt something here. Don't use cross stich for anything you gonna use a lot.


This next bag was the first bag I had "designed". I drafted the pattern on newspaper without any idea what I was doing and it shows! I had not heard of interfacing or interlining then.


Nice pocket


This is a crochet bag from my crochet days which is also the same timeline as my Sakura sewing machine era. I learnt crochet from books borrowed from the library and my knowledge is limited to the books available. This bag was seamed together at the sides and I discovered then that I dislike crochet "raw seams". There is also something called "blocking" which sounded so tedious I never tried it. That's why my bag is all floppy.

Tuesday, October 21, 2008

The Old Bags - Part 1

Long before I bought my current Brother sewing machine in July 2007, I owned a very basic Sakura sewing machine which rattled and jammed. It had such a complicated threading system I needed to draw a 3-D diagram to guide me. It came with 1 all purpose foot and I had no idea that you could have more than 1 foot. Oh, I have come such a long way.

Then, all I ever sewed were doll clothing for my girl's Barbie dolls, blankets and the odd alterations. I had loved the idea of making bags for a long time but I never knew how to start. One day, while at the National Library I came upon Making Handbags - Retro, Chic, Luxurious by Ellen Goldstein-Lynch. I was hooked. I made 1 bag using the tutorial from this book and when I look at the bag now I realise that back then, I would follow the style as much as possible (right down to the flowers and all)

Here's my first bag. I cringe a little every time I look at it.


The inside of the bag looks better than the outside


This next bag was made using a bought pattern. I wanted to see if a bought pattern was easier to follow and it wasn't. I didn't know what the notches were for and ignored them all. (It's to match the pieces for precision) Look at the flowers. Ugh! Those days are long over now.

I cringe a little here as well. In the background are my fab fabric which I had hung to dry.

Monday, September 29, 2008

Boxy Zippered Pouch Quest No. 3

I am a genius. When I couldn't find any tutorial which could give me a perfectly lined boxy zippered pouch without any exposed raw seams, I decided to combine 2 tutorials.

I went back to Front Zippered Pouch Quest No. 4, followed the Thimble tutorial and to take care of the boxy bit, I followed Three Bears tutorial.

And I did it. I got my perfectly lined boxy zippered pouch. Whoo hoo. Yay. Mission accomplished.

And that's the last time I'll ever try this stunt again. It was hard. I can't even begin to describe how awkward it was to sew the boxy seams on a front zippered pouch. I felt I had 10 extra fingers in the way.


I used a cotton fabric a friend had bought me from Kelantan, Malaysia. Okay, she asked me what I wanted and I told her fabric. I think people I know are now afraid to ask me if I wanted anything from abroad because they know I'll ask for fabric. Buying fabric is hard. I know because many times I've gone to Spotlight and come out empty-handed. One reason why I love to watch Project Runway is to see the designers buy fabric. Crazy but true.

Back to the fabulous cotton from Kelantan. I had a little trouble finding a lining to match it and eventually used a purple from my hoard of solids which I had refused to use for the longest time.

Beautiful. No raw seams anywhere.

Friday, September 19, 2008

I'm In Love or Boxy Zippered Pouch Quest No. 2

Not long ago, I went down to Clementi to visit my sewing machine dealer. She introduced the adjustable zipper foot to me. Since I was sewing so many zippered pouches, I was getting rather impatient with the zipper foot that came with my sewing machine. It just couldn't get as close to the zipper as I wanted.

When Helen, the dealer whipped out this magic foot which could go where no ordinary zipper foot could, I was sold. (I'm easily sold by the word 'magic') I flew home. I couldn't wait to zip awaay. My head was filled with images of all the zippered pouches I was going to sew. Me and my adjustable zipper foot were going to be inseparable. I was in love.

Here's the funny part. When I reached home, I spent hours just trying to screw the adjustable zipper on the presser bar. I simply couldn't get it to fit. I was so frustated. I went to Googleland and tried to find a tutorial or something. I could barely find an image of the zipper foot I had bought. I started to curse Helen. Doubts started to set in. Could my beloved Helen have sold me a fake? I decided to storm down to Clementi the next day.

Next morning, very funny story. I sat down at the sewing machine, looked at the darn adjustable zipper for the longest time and realised I had been holding it upside down! It's true. I'm so dumb. I screwed on the zipper foot no trouble this time and I am still in love. I feel like 19 all over again.

The zipper on the right is the adjustable zipper foot. It does piping too but I haven't figured it out yet.


My last zippered pouch was an unlined boxy pouch. I wanted to try out a lined boxy stationery case using Dragoknitfly tutorial. Construction wise it's similar to Three Bears except it's lined.

This stationery case is for me.


My trusted mechanical pencil.


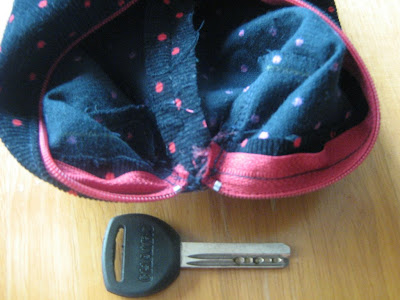
Boo hoo. Raw edges.

Monday, September 15, 2008

Boxy Zippered Pouch Quest No. 1

After making every kind of zippered pouch possible, I was asking myself, "what next?" I had read rave reviews of a little boxy pouch by Three Bears but had hesitated trying it as "boxy" was a little intidimating. I studied woodwork in Secondary 1 and 2 and had rather unflattering review from the teacher. "Couldn't plane to save my life." "Saw like a girl." You get the idea. So boxy kind of brought back scary memories of Sir screeching, "Observe, observe!" Why didn't I opt for Home Economics?

Boxy pouch turned out to be pretty easy to make. It's done like a regular top zippered pouch. Pay attention to the details or you'll end up with a regular top zippered pouch like what happened to me the first time. Heh heh. The magic is in the corners. A seam here and a seam there and tada! A boxy pouch emerges. My only grouse: it's unlined!!!!!

Even without any interfacing, the boxy pouch could retain its boxiness


Unlined!

Wednesday, September 10, 2008

Oriental Charms

Finally I get my camera back from my mother-in-law. All of August I was glued to the TV watching Beijing 2008 Summer Olympics, mostly table-tennis. Singapore won its first medal (Silver for Table-tennis) in 48 years! Yeah! I'm very happy to report that 48 years ago I was not even born yet.

I was very into table-tennis growing up. In primary school, I joined the school team but didn't even get to hold the bat. In secondary school, I joined the school team and finally got to hold a bat only to end up as a sparring partner and ball retriever. So I did what any table-tennis loving gal would do. I joined the queue at the void deck where a forward thinking government officer had installed a table-tennis table to keep kids in my neighbourhood out of trouble. Everyday during the school holidays, there would be a game going on. Void deck table-tennis is tough. Only the winner gets to continue playing - usually some tough boy who could spin, underspin, chop with superhuman reflexes. You only get to play 5 balls with the ping-pong king. When he wins, he'll shout out, "Next better player!" It's humiliating but that's how I picked up table-tennis.

During the long, very long and exciting matches between Singapore and South Korean and finally China (over in a split second), I was so hopped up I actually saw myself playing along with every move, spin, stretch. I was The One. I could slow-mo a ball, leap in the air, smash a ball through the opponent. Funnily, in my fantasy, I always see myself playing FOR China.

Now I play table-tennis with my husband on our dining table. We use a toy bus as a net.


So, to commemorate something Oriental although it's a bit late, I did some charms which I picked up from this book Decorative Knot Craft by Kim Sang Lan. The instructions for the knotting in this book is incredibly hard to follow. I've only managed to figure out Ginger Knot and Ring Knot. I have the idea of using these charms as either pouch charms or just as a simple zipper puller.

One new thing I'm doing with my pictures is all my pictures will have an everyday item so one can tell how big it is since I never bother to mention the dimensions. My husband suggested it to me and I thought it would be fun.

The red ball is the Ring Knot. The rest are Ginger Knot.


What's interesting about two ring knots is you can make the length of the braid change by moving the ring knots. Amazing!

Small (Note the distance between the 2 ring knots and the length of the braid)


Big (The ring knots are close together while the braid has lengthened)


Ring Knots as zipper puller
Related Posts with Thumbnails

My Bag Pattern Shop

https://www.etsy.com/shop/projectsbyjane

My Applique Patterns

https://www.etsy.com/shop/projectsbyjane?section_id=15580078&ref=shopsection_leftnav_2

My Embroidery Patterns

https://www.etsy.com/shop/projectsbyjane?section_id=15580078&ref=shopsection_leftnav_2