When I wanted to make a perfectly lined zippered boxy pouch without ugly raw seams or hiding of raw seams via bias binding, I couldn't find any tutorial in googleland. So I used what I learnt at
Thimble and a bit from
Three Bears and I managed to achieve my dream pouch. A reader named Grace wanted to make one too and I found it too hard to explain so I decided to come up with a tutorial instead.
To achieve a crispier boxy pouch, you can use interface but for this tutorial I'm skipping the interface.
Here's what you need:
Outer fabric (camouflage) 2 pieces 10" by 6"
Lining 2 pieces 10" by 6"
8" zipper
Handle (camouflage) 1 piece 10" by 2" (lengthen if your hand is large)
Oops. I forgot to include the handle in the photo.

Note: For outer fabric, I prefer to use 2 pieces of fabric instead of 1 as I find it easier to topstitch around the zipper. If you use 1 piece of fabric just skip sewing up the bottom.
Here we go.
1. First I like to sew the ends of the zipper together. It's much neater.
Next let's create sandwich A by lining your fabric in this order matching long edges:
Outer fabric right side up
Zipper wrong side up(Head of zipper is on the left)
Lining wrong side up
Baste or pin
There will be 1" seam allowance on either side of the zipper. I like large seams when I work with zipper. If you prefer 1/2" seam allowance, just modify the length of the fabric from 10" to 9".
Mark on lining the 2 positions of the end stopper of the zipper. (the metal bits)
The picture below is to give you a better idea of the positions. It's not part of this project.

On the lining I have marked 2 red lines

2. Now check the order of sandwich A. Make sure you got it right. Trust me. I've been there. Now use a zipper foot and sew sandwich A BETWEEN the 2 marked positions on the lining.

3. This is important. Flip sandwich A right side out.
Make sandwich B in this order matching long edges:
Other Lining right side up
Sandwich A with right side of zipper facing up. (zipper head is on the left) You should match the zipper with the long edge of the other lining.
Other Outer fabric wrong side up
Baste or pin
Mark on outer fabric the 2 positions of the end stopper of the zipper. (the metal bits)

4. Use a zipper foot and sew sandwich B BETWEEN the 2 marked positions on the outer fabric.
Flip until right side out and press.
Topstitch on outer fabric BETWEEN the metal bits only.

5. At this point, let's do the handle. Fold the fabric for the handle like a bias tape - half and half again. Sew along long edges.

6. Flip until the outer fabric are right side together and the lining are right side together. Match edges and pin. Sew the BOTTOM of the outer fabric and the BOTTOM of the lining. (see where I have pinned?) I used a 3/8" allowance. (you can use any seam allowance for sewing the bottoms) Remember to leave a gap on the lining for turning right side out later.

7. Flip around until the bottoms of the lining (you have just sewn) is in the centre while on the other side the zipper is in the centre of the outer fabric. Be as accurate as possible or your pouch will be lopsided. Press, press, press.

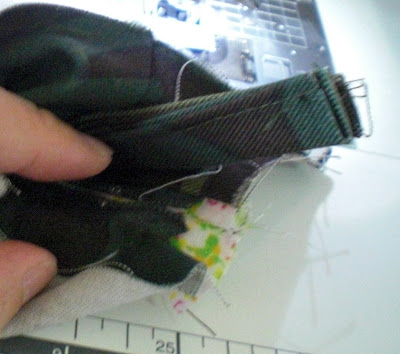
8. Find the side of the outer fabric where the end of the zipper is. Mark a line across the side seam with the line as close to the last stitch on the lining as possible. Lifting the lining out of the way, sew on the marked line. You will sew over the zipper ends but you SHOULD NOT sew onto the lining. (the picture is pretty clear)

9. Insert the handle with raw seams pointing out aligned with the side seams of the outer fabric where the head of the zipper is. Match edges and sew as in step 8 and once again lift the lining out of the way and sew only on the outer fabric side seam.(and over the zipper as well) Reinforce the handles.
10. Unzip the zipper now or you'll be trapped. Sew the side seams of the lining once again sewing as close to the last stitch of the outer fabric as possible. DO NOT sew on the outer fabric or the zipper. You will notice there is gap in the lining where the zipper is. Don't worry about it. It won't matter once the bag is turned right side out.
The next picture shows the desired result. The outer fabric and lining have separate side seams.

11. Trim seam allowances. It's time to do the boxy bits. Yay! Manipulate the 4 corners of the outer fabric and the lining to form triangles. Use a ruler for accuracy. Pressing, press, press. You can use any measurement for the triangles but they must be accurate and consistent.

12. Mark the positions and sew


13. Trim.

14. Turn right side out through gap in the lining.

15. Use chopstick to straighten the pouch through the gap in the lining.

16. Handsew the gap in the lining, add a zipper pull and you're all set.

17. No raw seams.

* * *
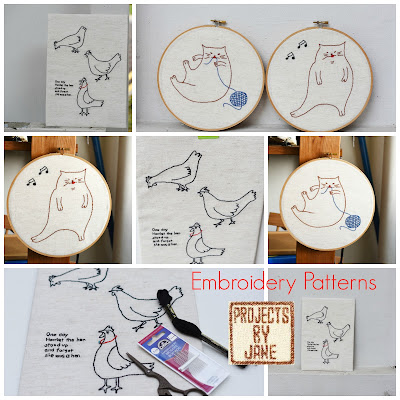
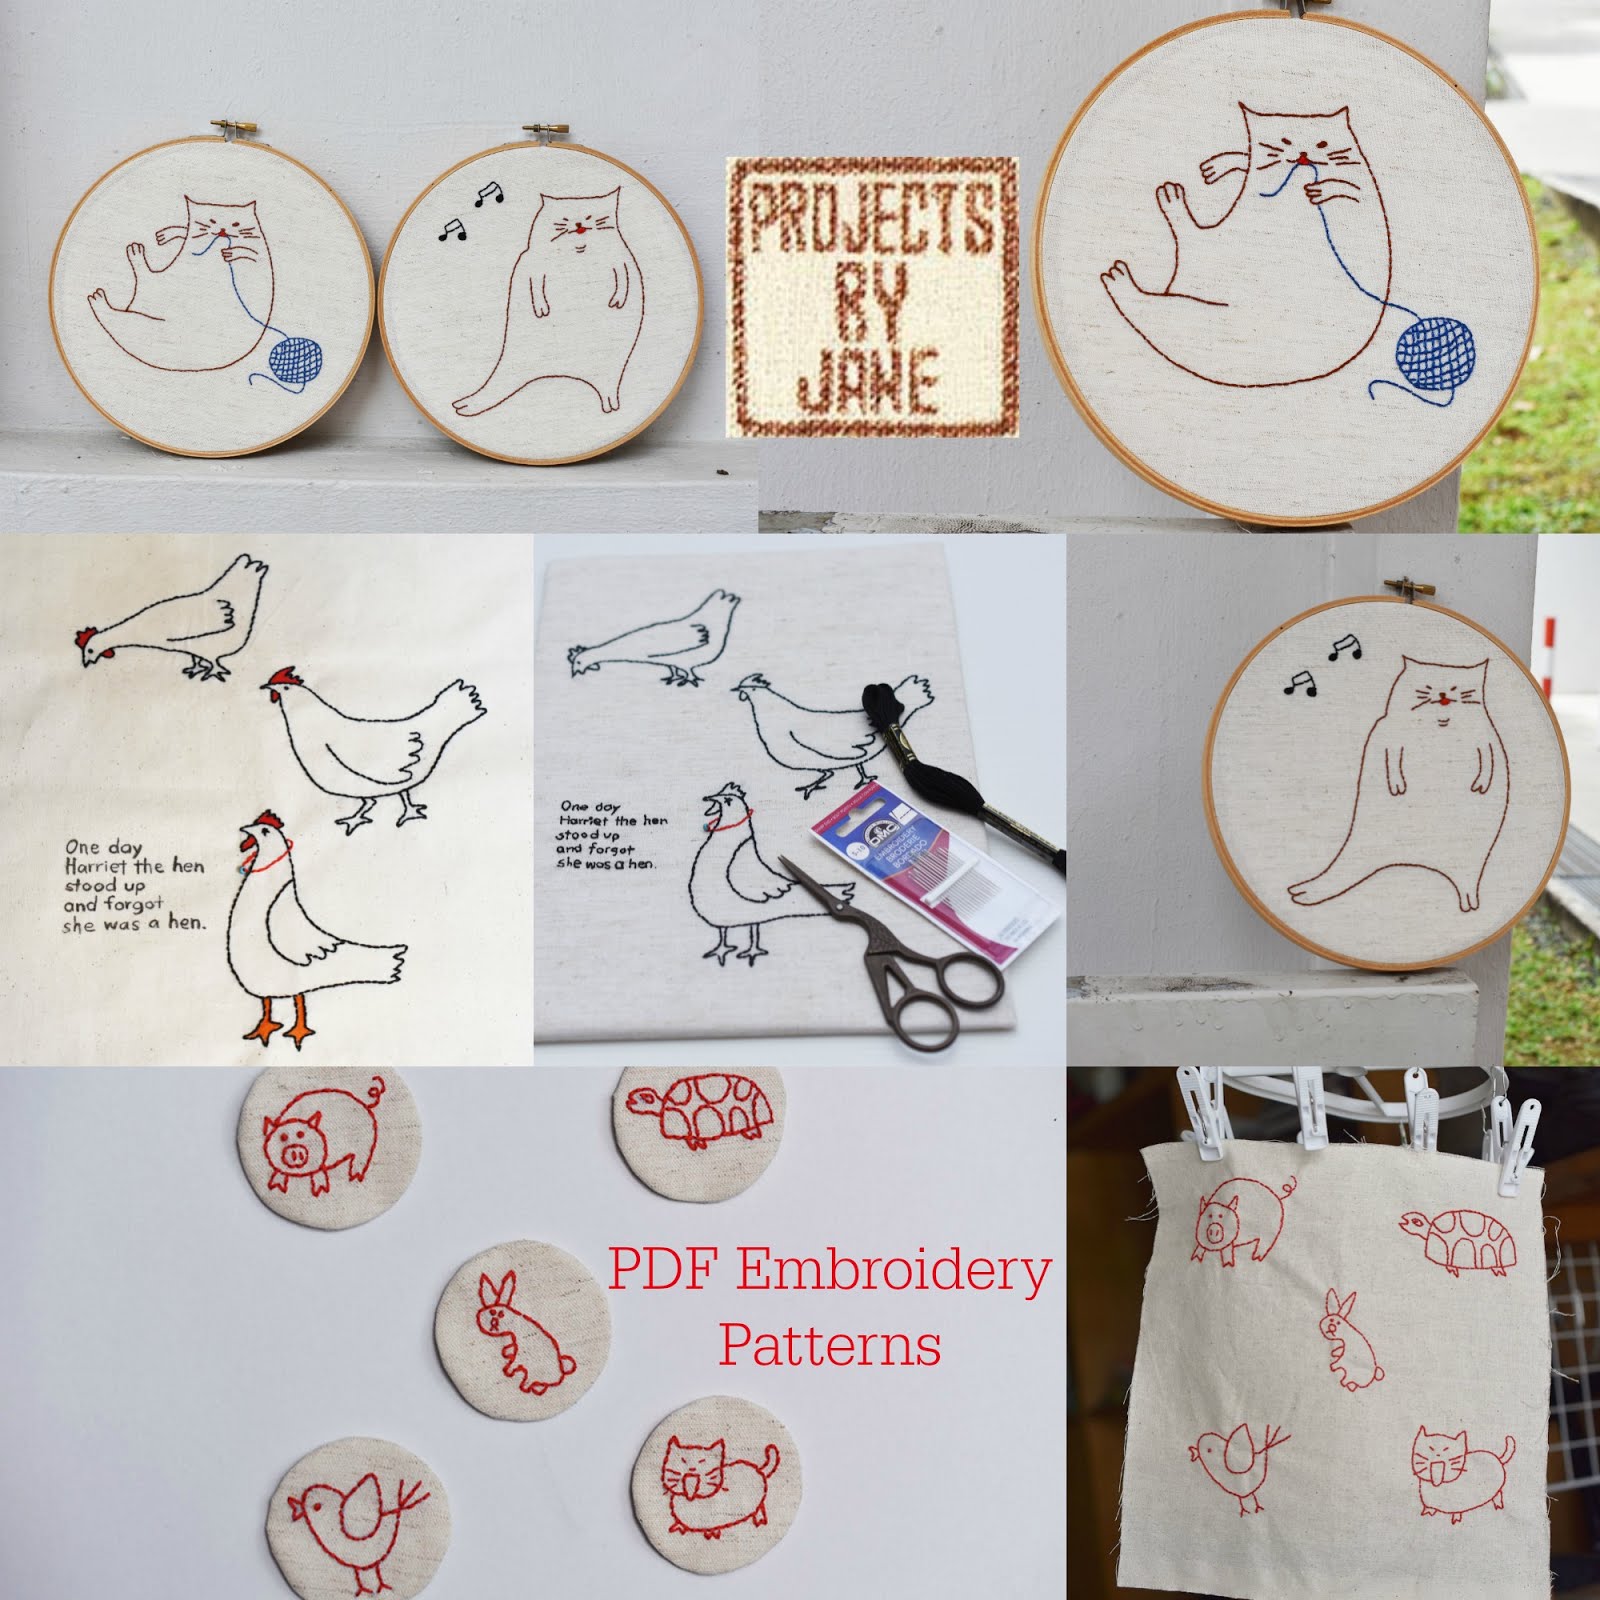
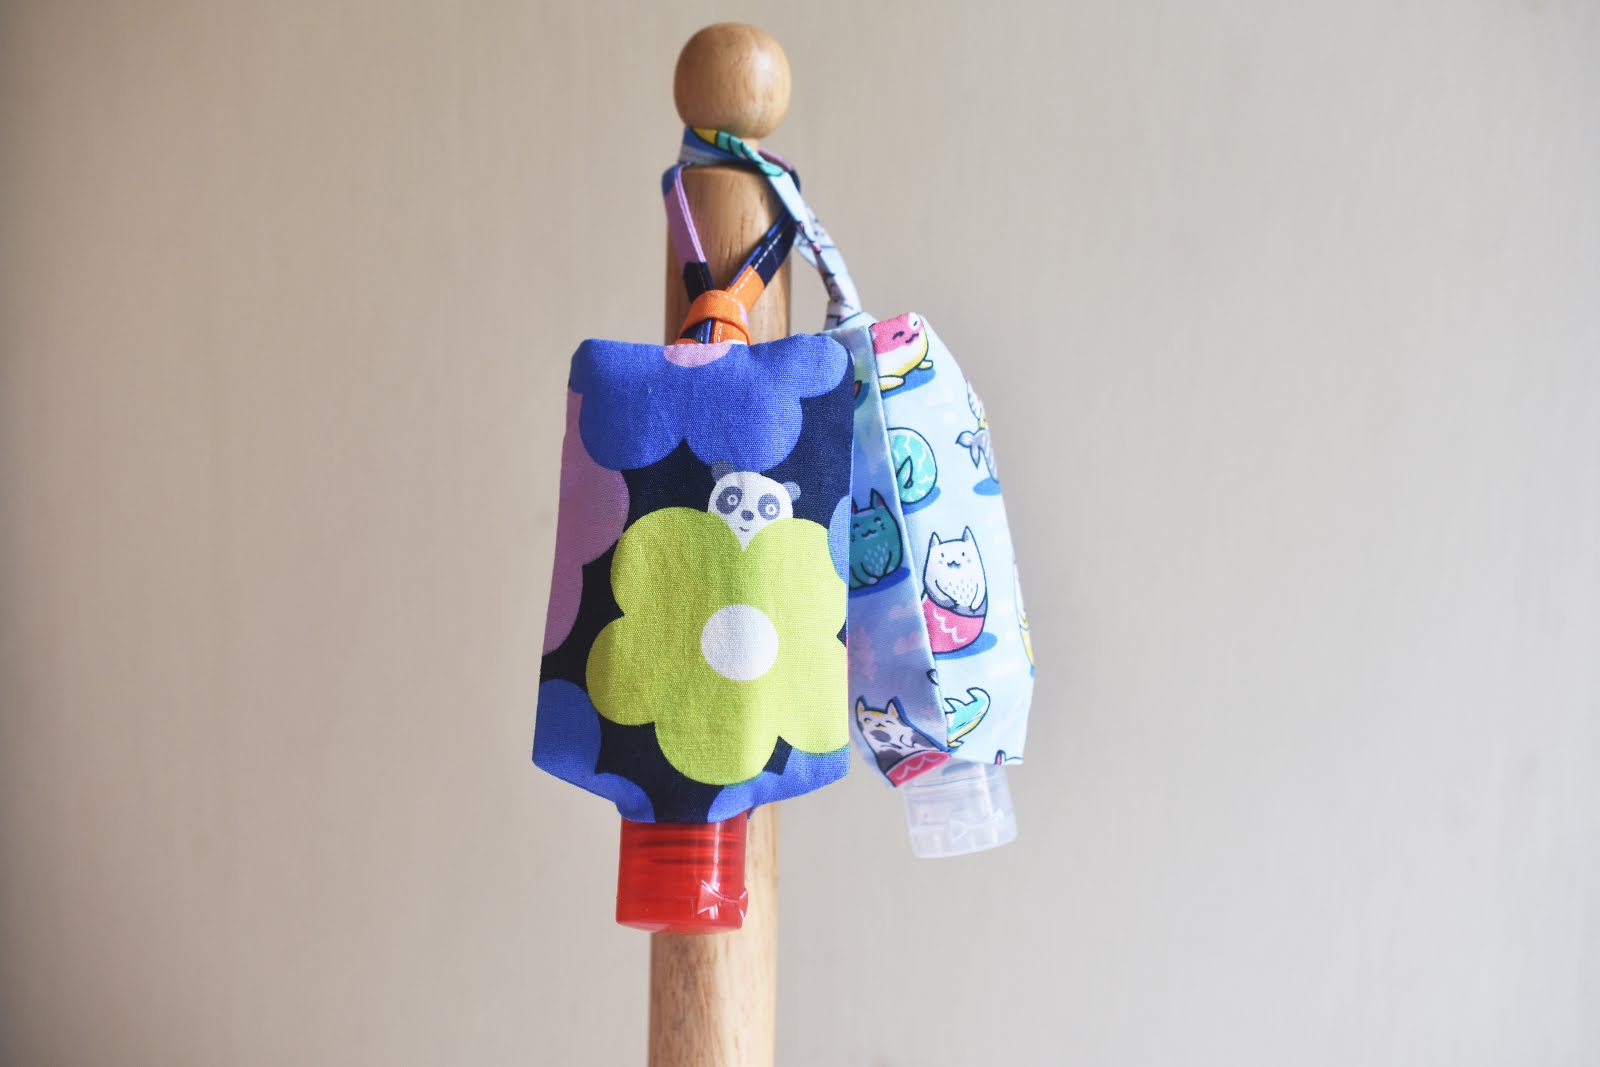
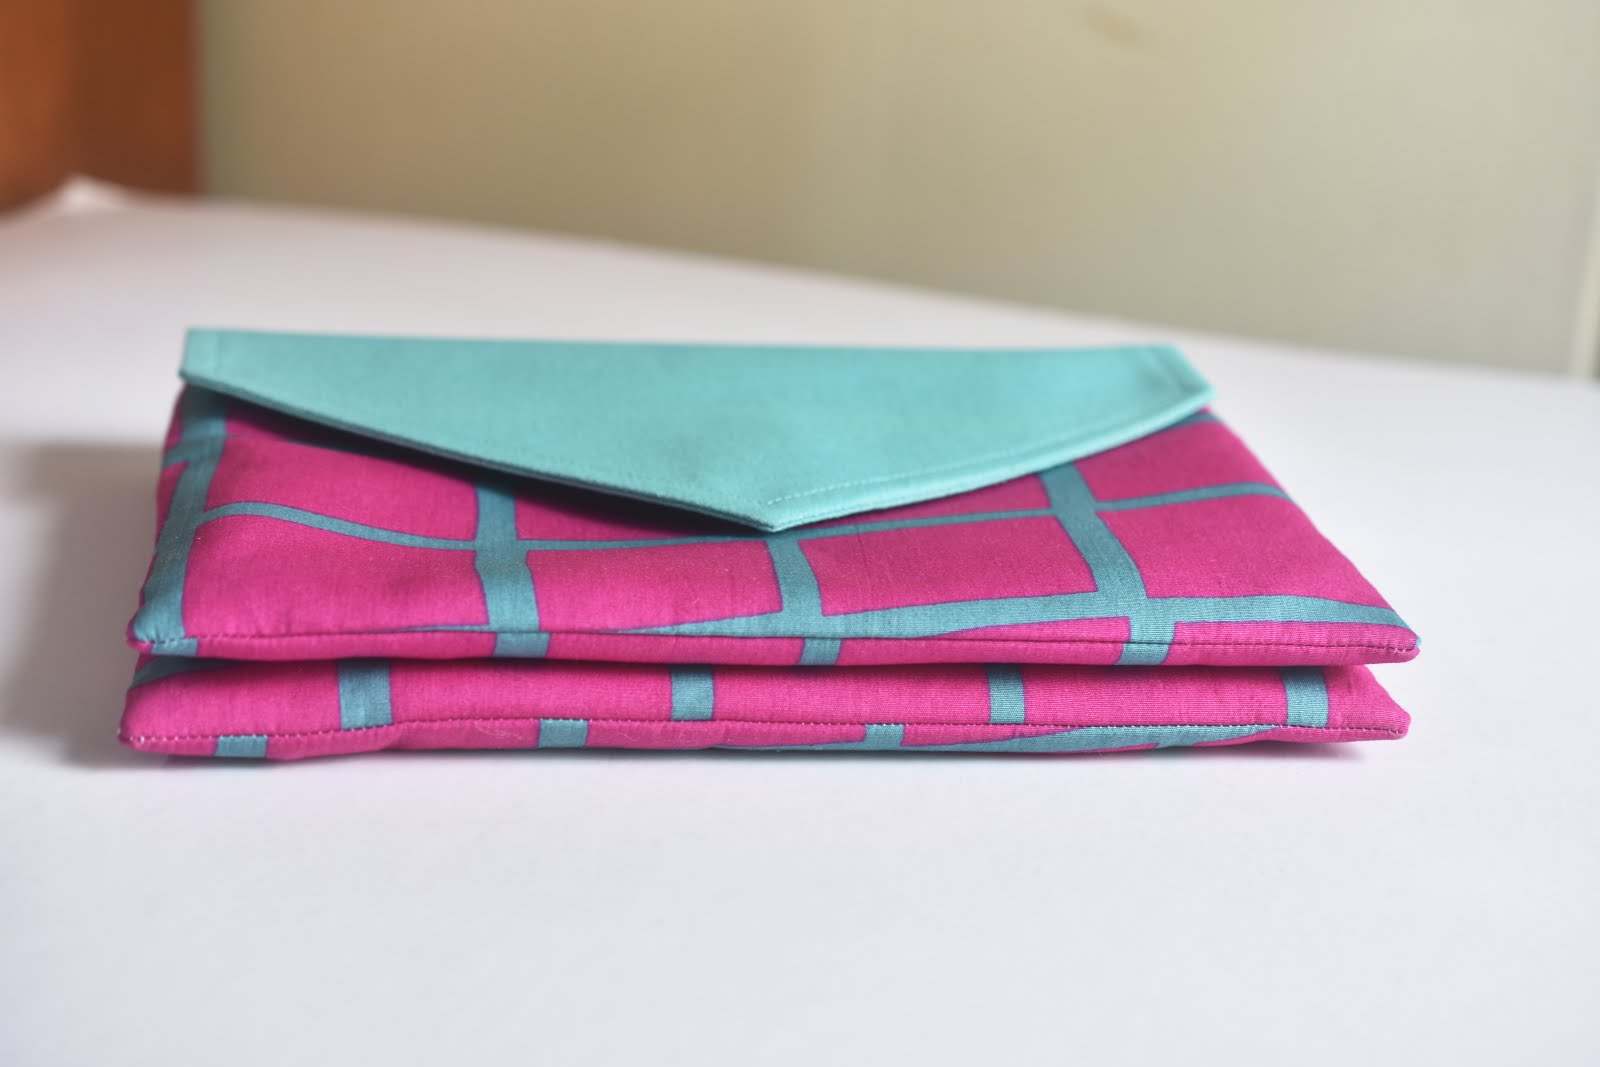
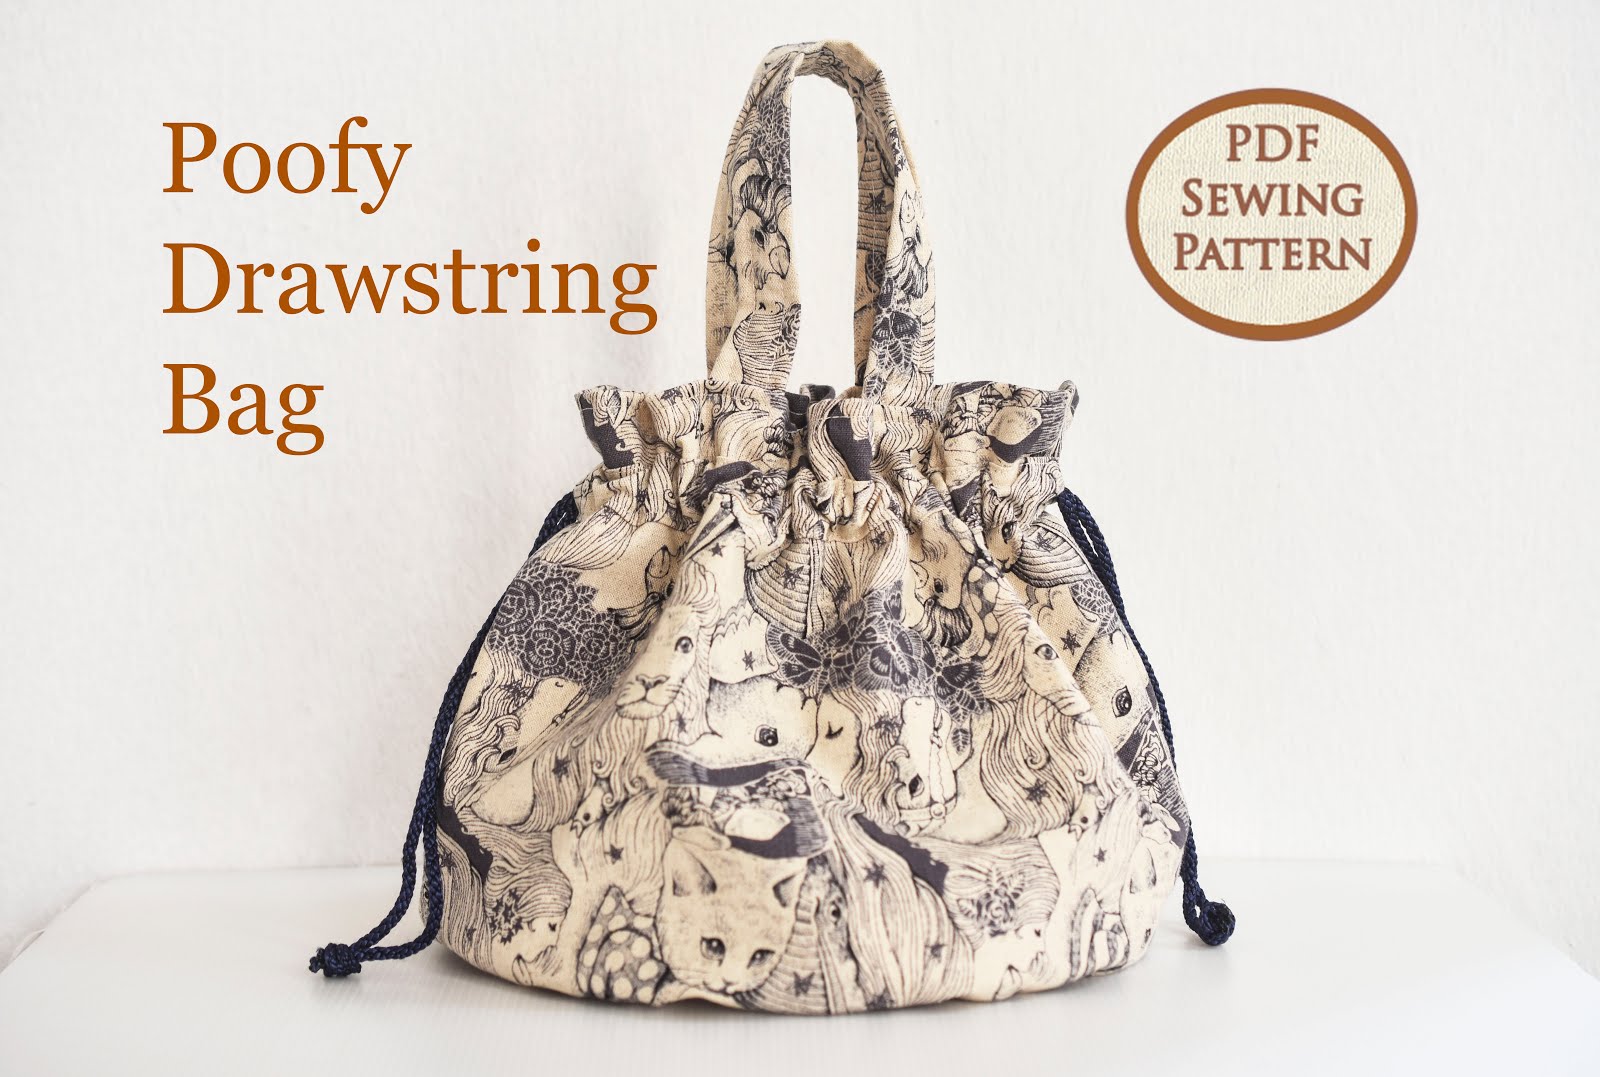
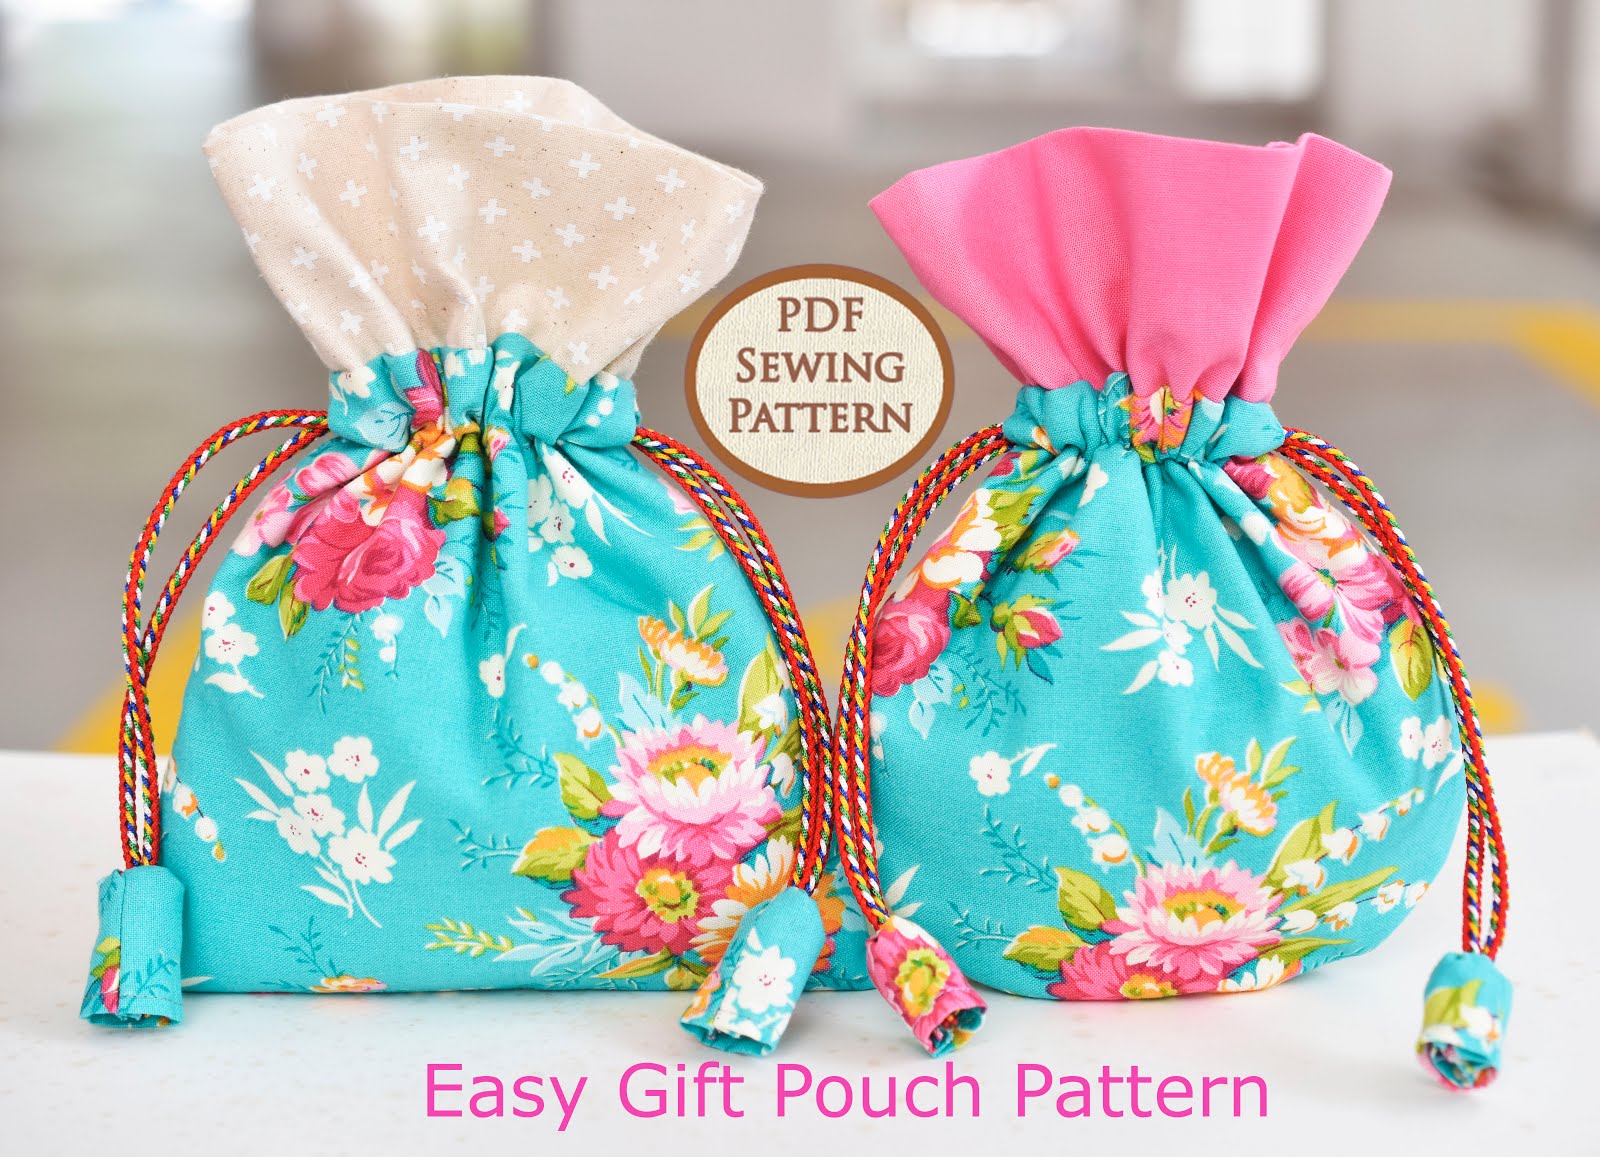
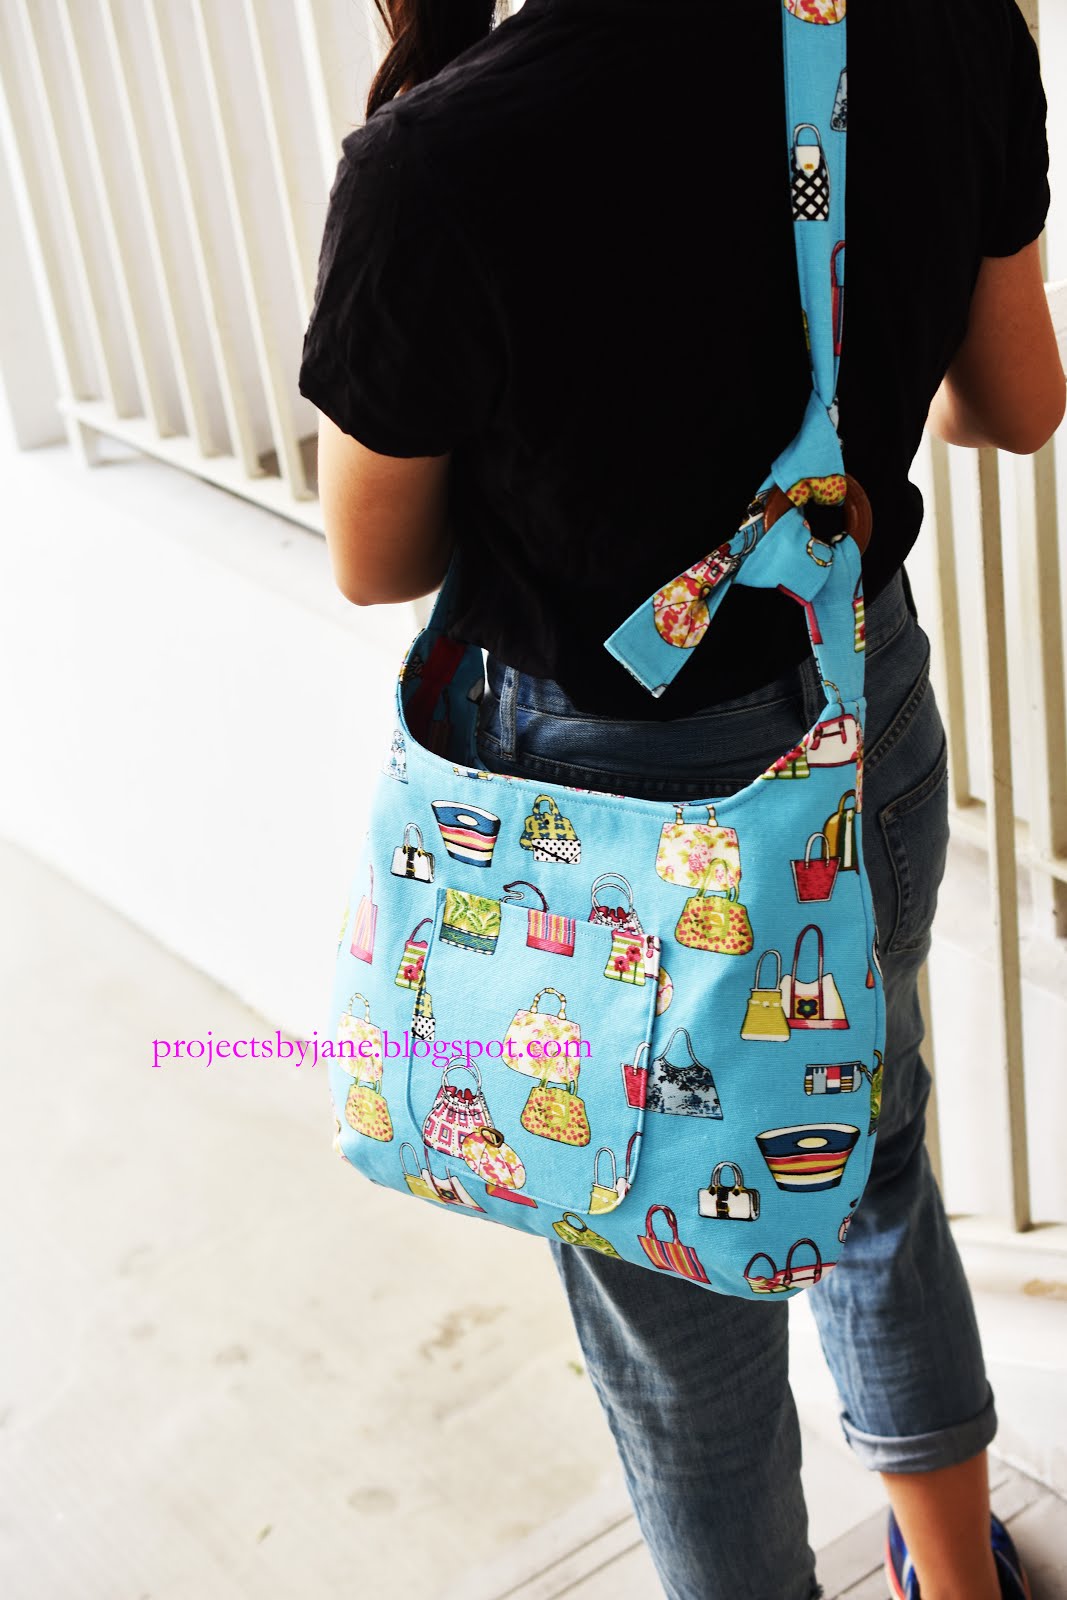
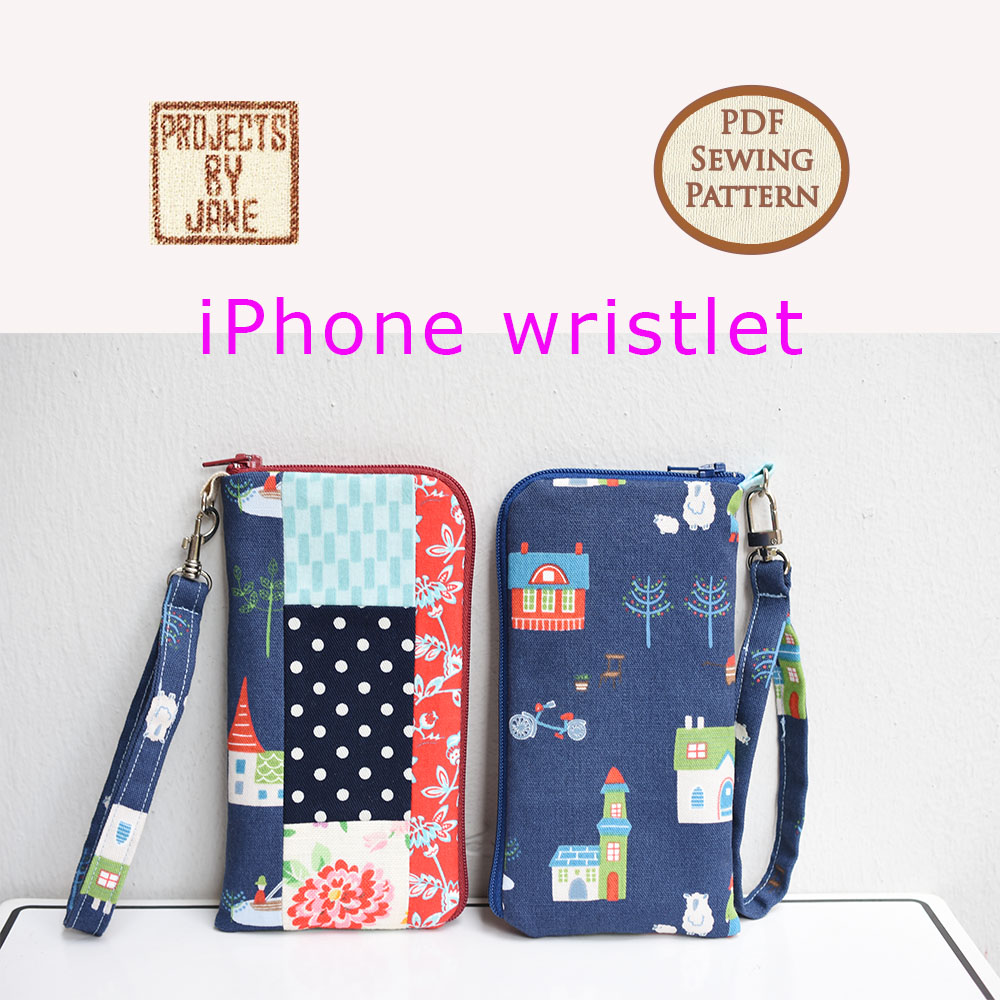
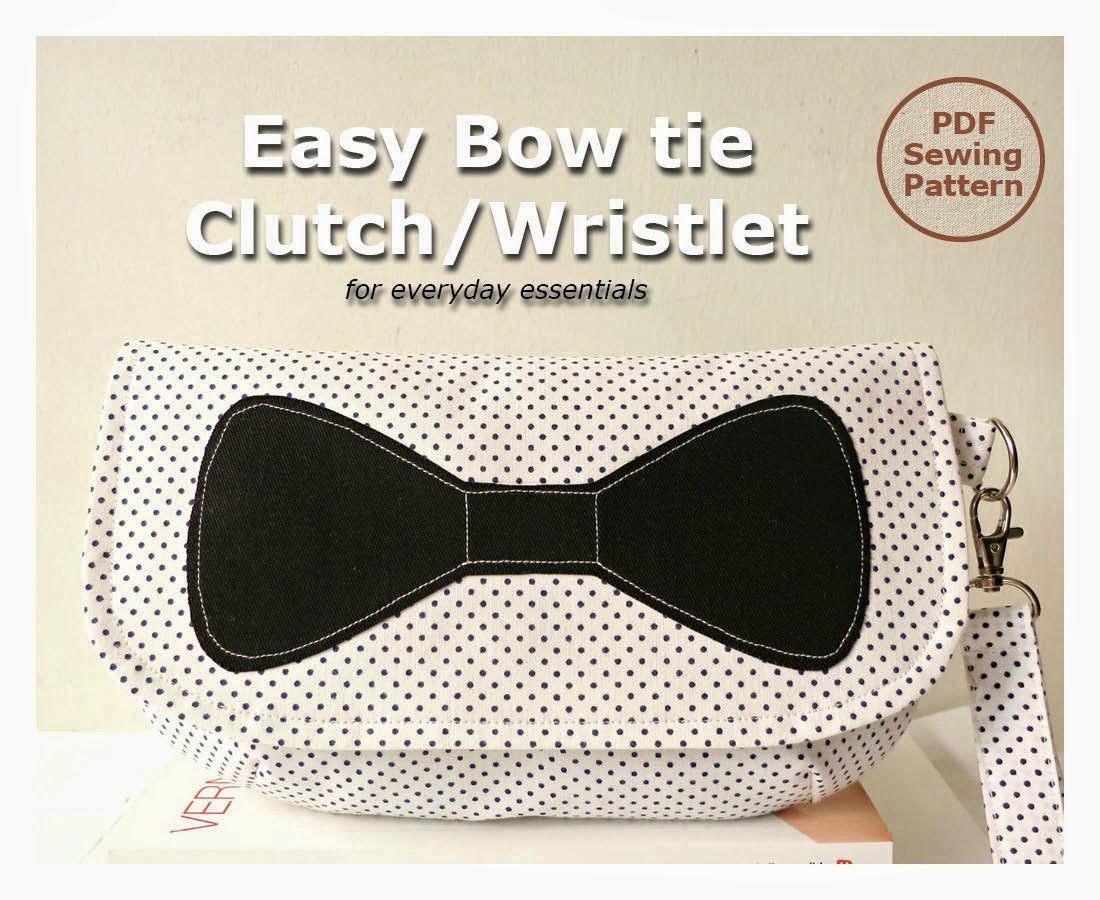
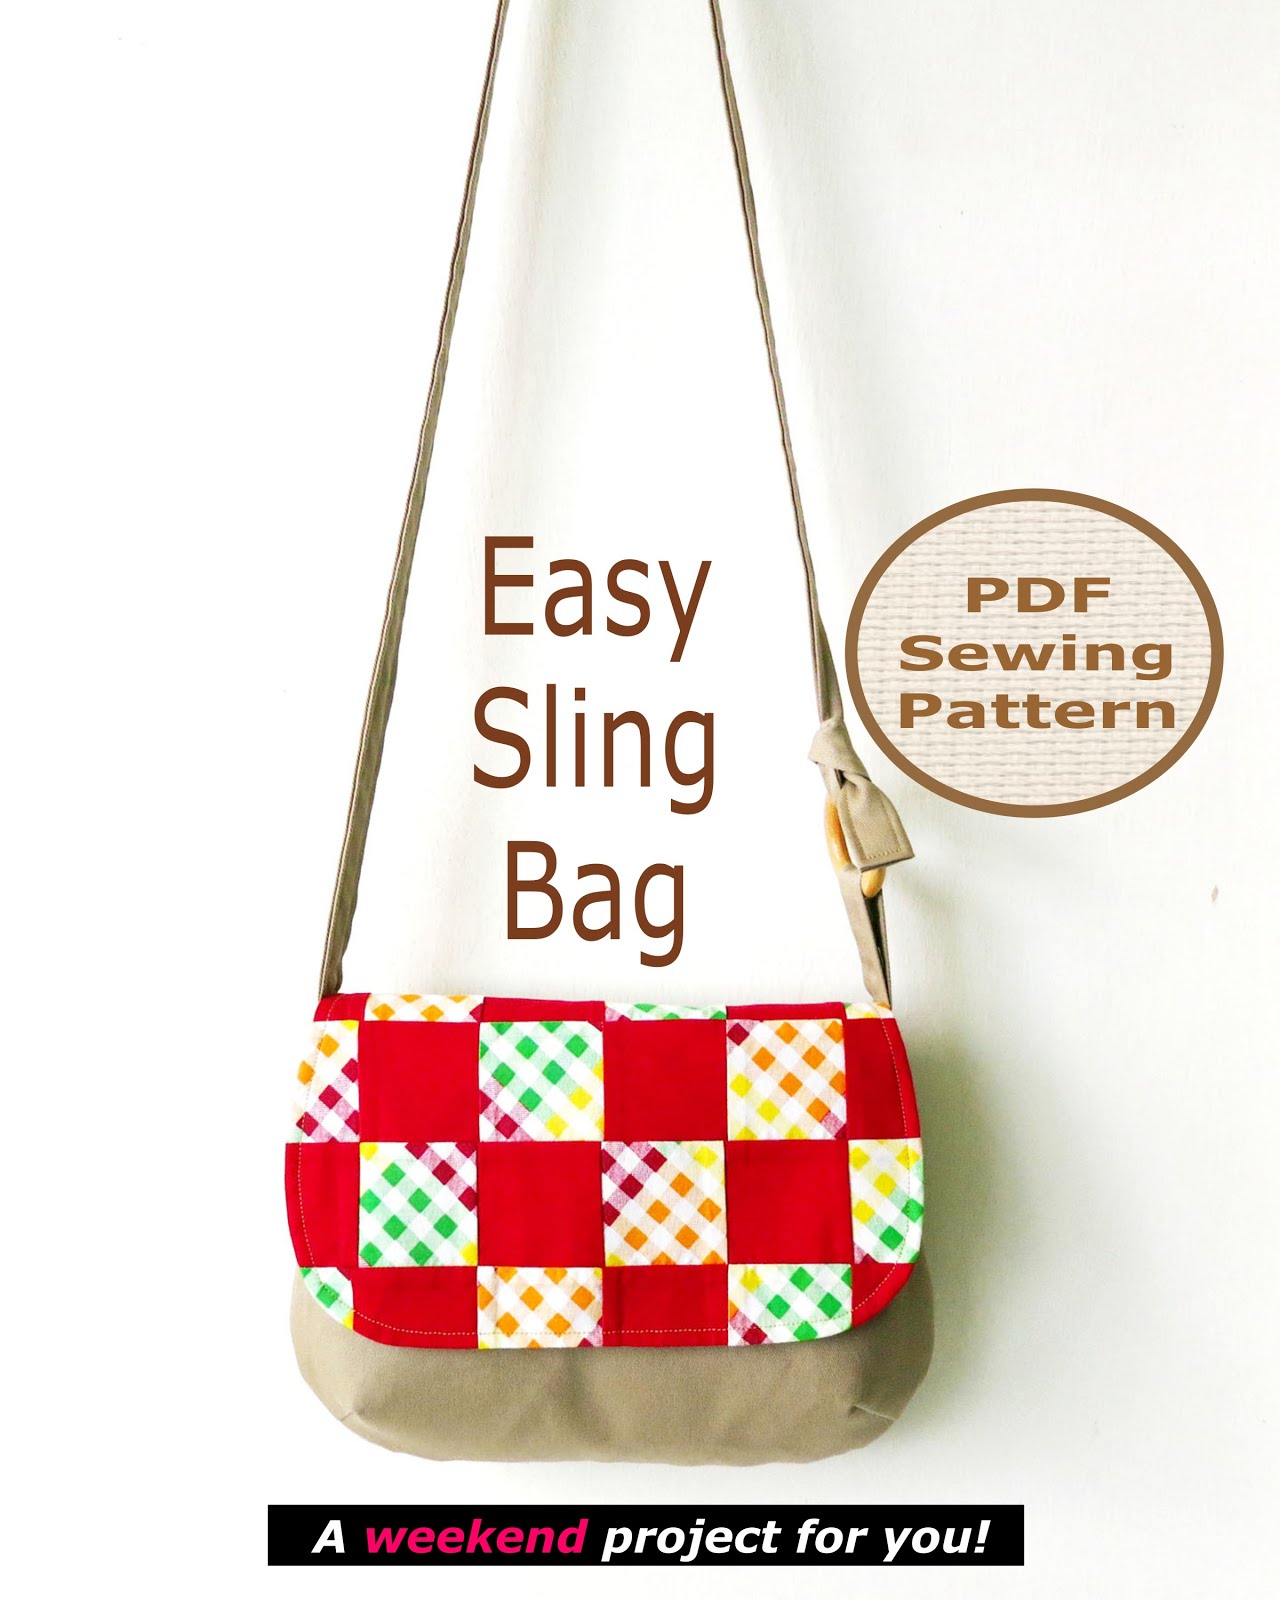
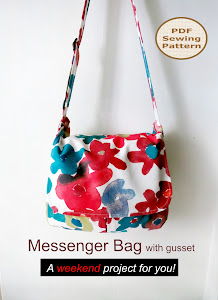
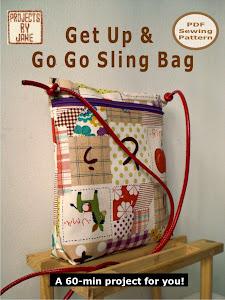
Below are my bag patterns which are available for sale at
Etsy (instant download). Clicking on the images will take you to my Etsy shop.
For more
Applique Resources
For more
Tutorials